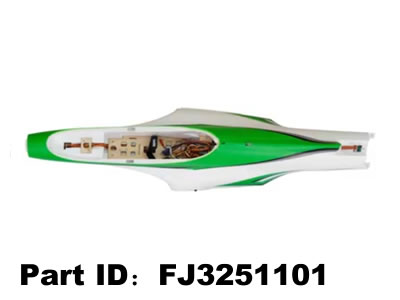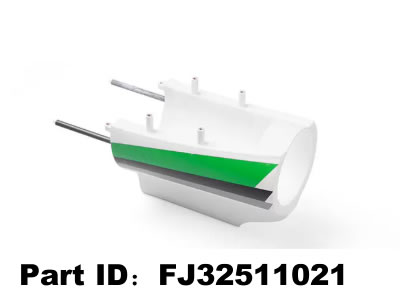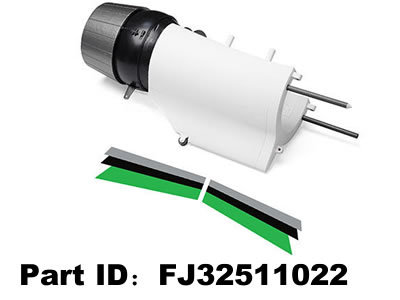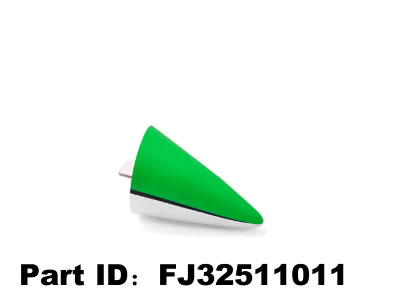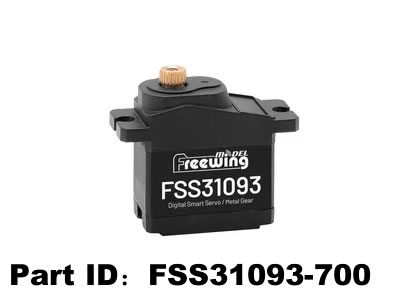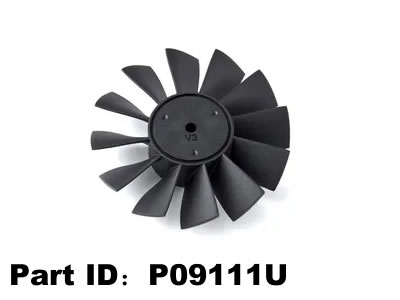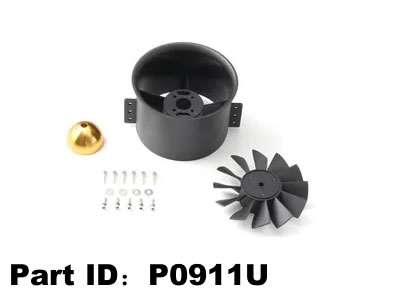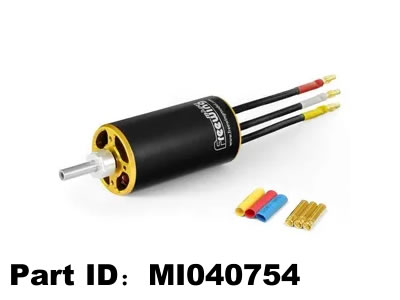
How to install EDF Engine power system for Freewing avanti 90mm edf jet?
Hello Hobby friend:
I am general technology engineer from Freewing model.
we are happy to share technology with all hobby friend again today.
How to install EDF Engine power system for Freewing avanti 90mm edf jet step by step?
p>This is for the Freewing Avanti S 90 mm EDF Sport Jet. It supports two factory power options:
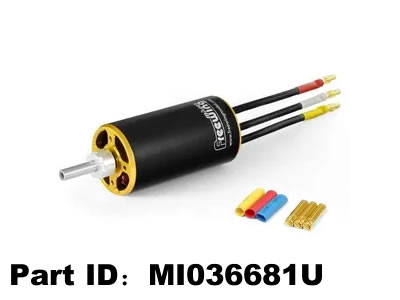
- 6S: 3668‑1960 KV inrunner + 12‑blade 90 mm EDF + >120–130 A 6S ESC (with BEC)
- 8S: 4075‑1350 KV inrunner + matching 12‑blade 90 mm EDF + >120–130 A 8S ESC Recommended battery: 6S / 8S 5000 mAh, 50C high discharge LiPo
Tools & parts you need
- Freewing 90 mm 12‑blade EDF unit + inrunner motor
- Rated ESC (with built‑in BEC, EC5 / suitable high‑current connector)
- LiPo battery, battery strap / Velcro
- Heat shrink, high‑current solder, flux, zip ties
- Allen keys, thread locker (medium), digital wattmeter / current meter
- Receiver, extension servo leads (if needed)
- Safe mat, fan test stand
Step 1: Remove old power (if upgrading)
- Remove the hatch, take out the battery, then unplug the receiver / harness board.
- Pull the EDF tailpipe / exhaust cone off the rear fuselage.
- Unscrew the EDF shroud/mount ring inside the rear duct; carefully slide the whole EDF unit backward out of the duct.
- Desolder or disconnect motor wires from the ESC, then free the ESC from its foam mount.
- Inspect the intake duct: repair any foam gaps, cracks or loose duct tape. Air leaks kill thrust.
Step 2: Assemble the EDF unit
- Bolt the inrunner motor into the EDF shroud with supplied screws; use a tiny drop of medium thread locker. Do not over-tighten.
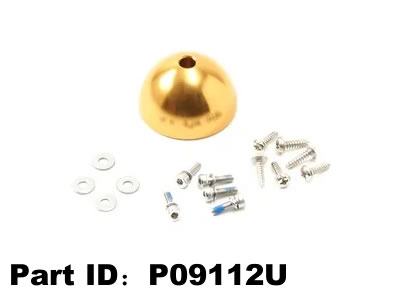
- Slide the 12‑blade fan onto the motor shaft, align the set screw with the flat on the shaft, then lock it. Spin the fan by hand: it must rotate freely with no rubbing against the shroud.
- Solder the three thick motor wires to the ESC motor terminals; shrink each joint. Keep leads as short as practical.
- Solder your chosen high‑current battery connector to the ESC battery side; insulate all exposed terminals.
- Route the ESC servo wire to the receiver / central harness. Add a ferrite bead on the servo lead if you see radio glitches.
Step 3: Install EDF into the fuselage duct
- Slide the complete EDF assembly forward into the intake duct until the front flange seats fully against the duct shoulder.
- Install the retaining ring and tighten the mounting screws evenly. The fan must sit concentric inside the duct; if it touches the shroud when spun, reposition it.
- Fit the exhaust tail cone / nozzle and secure it. A loose nozzle creates turbulence and thrust loss.
- Mount the ESC in the dedicated ESC cavity, preferably with airflow across it for cooling. Secure with double‑sided foam tape or zip ties; avoid pinching wires.
- Route all power wires neatly, secure with zip ties, and make sure no wires can be pulled into the fan.
Step 4: Radio & ESC calibration (critical)
Always do this with the fan pointed safely away from people and loose objects.
- Turn your transmitter on first.
- Move throttle stick all the way to idle (bottom).
- Plug the LiPo into the ESC.
- Follow your ESC’s calibration tone sequence:
- When it beeps for full throttle, push throttle fully up; wait for confirmation beep.
- Pull throttle back to idle; wait for the “ready” tone.
- Test rotation: advance throttle slowly. If the fan spins backward, swap any two of the three motor wires.
- Program the ESC:
- LiPo cell count: auto or manually set to 6S / 8S
- Low‑voltage cutoff: ~3.0 V/cell (soft cut preferred)
- Startup: soft / super soft for EDF (never hard start)
- Timing: auto or high for inrunner
- BEC: 6 V or 7.4 V, match your servos / receiver requirement
- If your ESC has thrust reverse, assign it to a separate switch channel and test before flight
Step 5: Battery installation and CG
- Use heavy‑duty Velcro / strap to secure the LiPo inside the battery bay.
- Adjust battery forward or backward to hit the factory CG for the Avanti 90 mm: balance point around the marked wing reference. This jet is sensitive to CG; nose‑heavy is safer for your first flight.
- Double‑check that the battery cannot shift under high throttle or hard maneuvers.
Step 6: Ground test before flight
- Secure the plane on a test stand or tie it down firmly.
- Slowly ramp throttle from idle to full, watch your wattmeter: confirm peak current stays under the ESC / motor rating.
- Listen: no scraping, ticking, or strange vibration. If you hear rub, shut down immediately and re-seat the fan.
- Check all control surfaces while the EDF runs to rule out radio interference.
- Unplug the battery, re-tighten all set screws and mounting fasteners after the first full-power run.
Common mistakes to avoid
- Leaving gaps / leaks in the intake duct or nozzle
- Overheating ESC by burying it without cooling airflow
- Skipping throttle calibration (EDF may have poor linearity or fail to spool up)
- Running too high KV / wrong cell count for the EDF; this burns motors and ESC quickly
- Loose fan set screw — this is a very common crash cause
- Ignoring CG; a rear‑heavy Avanti is very snappy and easy to lose control
Quick safety note
EDF fans spin extremely fast. Keep hands, loose clothing, and tools clear any time the LiPo is connected. Disconnect the battery before touching the fan or wiring.
Freewing Avanti 90 mm EDF – ESC Quick Setting Sheet
Notes •
This is for the stock Freewing inrunner + 12‑blade 90 mm EDF • Soft start is mandatory; hard start can strip the fan hub / snap the shaft
If your ESC menu wording differs, pick the closest match • Always re‑calibrate throttle after changing ESC or radio
6S Setup (3668‑1960 KV)
| Item | Setting |
|---|---|
| Battery Type | LiPo |
| Cell Count | Auto / 6S |
| Low Voltage Cutoff | 3.0 V / cell, Soft Cut |
| Startup Mode | Super Soft / EDF Soft Start |
| Timing | Auto or High |
| Motor Rotation | Normal (swap any two motor wires if reversed) |
| Brake | Off |
| BEC Output | 6.0 V (standard servos) / 7.4 V (HV servos) |
| Max Continuous Current | ≥120 A |
| Peak Current | ≥130 A |
| Throttle Response | Medium |
| Reverse Thrust | Optional, assign to separate switch |
8S Setup (4075‑1350 KV)
| Item | Setting |
|---|---|
| Battery Type | LiPo |
| Cell Count | Auto / 8S |
| Low Voltage Cutoff | 3.0 V / cell, Soft Cut |
| Startup Mode | Super Soft / EDF Soft Start |
| Timing | Auto or High |
| Motor Rotation | Normal |
| Brake | Off |
| BEC Output | 6.0 V / 7.4 V per your servos |
| Max Continuous Current | ≥120 A |
| Peak Current | ≥130 A |
| Throttle Response | Medium |
| Reverse Thrust | Optional, separate switch only |
Throttle Calibration Steps (printable)
- Transmitter ON first. Throttle stick → full idle.
- Connect LiPo to ESC.
- When ESC beeps for full throttle: push stick fully up, hold until confirmation beep.
- Pull stick back to idle; wait for “ready” tone.
- Slowly advance throttle. If fan runs backward: power off, swap any two motor wires.
- Disconnect battery, power cycle radio, re‑test.
Pre‑Flight Checklist
- Fan spins free by hand, no rub
- Fan set screw tight with medium thread locker
- Duct / intake / nozzle sealed, no air leaks
- ESC has cooling airflow
- Wires secured, cannot be pulled into fan
- Battery strapped tight, CG at factory mark (slightly nose‑heavy for maiden)
- Full throttle ground test, no weird vibration or noise
- Controls work at full power, no radio glitches
- Battery unplugged when working near fan
Reference numbers
- Recommended LiPo: 5000 mAh, 50C+
- CG: Use the marked balance point on the wing; rear‑heavy = dangerous
- After first full power run: recheck all fasteners