
how to Repair Freewing EDF Power System
What is EDF?
EDF (Electric Ducted Fan) is a common propulsion system in remote-controlled (RC) model airplanes. If an EDF system malfunctions (such as motor not spinning, insufficient thrust, or damaged electronics), targeted repairs should be carried out according to the specific issue. Below is a step-by-step repair guide covering common fault scenarios and solutions:
1. Basic Checks and Safety Preparations
Power Off Operation
Disconnect the battery to ensure the motor has completely stopped, preventing short circuits or accidental startup.
Use insulated tools (such as plastic screwdrivers) to avoid the risk of electric shock.
Visual Inspection
Check the motor casing and fan blades for physical damage (such as cracks or deformation).
Ensure that wire connections are secure, without exposed or oxidized sections.
To repair the Freewing EDF power system, you must first identify whether the issue is mechanical (fan rubbing, imbalance) or electrical (no power, low thrust). Since the manual does not provide a dedicated repair guide, most fixes require disassembly, replacement of damaged parts, and careful reassembly.
Safety First: Always disconnect the flight battery before working on the EDF. When testing, use a safety stand and never touch the fan by hand while power is connected.
Step-by-Step Repair Guide
Step 1: Remove the EDF Unit from the Fuselage
To access the motor and fan, you generally need to remove the wing or the EDF cover. Disconnect the motor wires from the ESC, noting their order (you can swap two wires to reverse direction if needed, but mark them first to avoid mistakes). Remove the screws securing the EDF housing to the fuselage.
Step 2: Inspect for Mechanical Damage
Look for common signs of failure:
-
Foreign Object Damage (FOD): Check for gravel or debris that may have chipped the fan blades.
-
Rubbing: Inspect the fan shroud for scrape marks, which indicate the rotor is contacting the housing.
-
Loose Parts: Check if the motor is securely mounted to the fan housing (usually 4 screws). A loose motor causes vibration and inefficiency.
Step 3: Disassemble the Fan Unit (If Necessary)
If the fan is damaged, you need to remove it:
-
Remove the Spinner: Unscrew the center spinner screw (often M2 or M3) using a small Phillips head screwdriver.
-
Remove the Rotor: Carefully pull the rotor off the motor shaft. Take note of any spacers or washers and their order.
-
Remove the Motor: Unscrew the 4 mounting screws holding the motor to the fan housing.
Step 4: Replace Damaged Components
-
Rotor/Fan: If blades are chipped or cracked, replace the rotor. Never attempt to repair a cracked rotor; it can explode at high RPM.
-
Motor: If the motor feels gritty when turning or smells burnt, it needs replacement. Match the KV rating and size (e.g., 2849-2850KV) to your specific model.
-
Adapter/Collet: If the rotor was slipping on the shaft, replace the motor shaft adapter or collet.
Step 5: Reassemble and Balance
Reassembly is the reverse of disassembly:
-
Mount Motor: Tighten the 4 motor screws evenly (do not overtighten, as this can warp the housing).
-
Install Rotor: Place the rotor onto the shaft. Ensure any hardware platform or spacer aligns correctly. Tighten the spinner screw snugly, but do not overtighten, as this can damage the rotor or shaft.
-
Check for Balance: Spin the fan by hand. It should spin freely without wobbling. If it vibrates significantly, the rotor may be out of balance or the shaft could be bent.
Troubleshooting Common Power Issues
If the fan spins but lacks power, the issue is often not mechanical:
-
ESC Throttle Calibration: A mis-calibrated ESC is a very common cause of low thrust. Turn on your transmitter with the throttle stick at full, connect the battery, wait for the initial beeps, then move the throttle stick to zero. You should hear the arming tones. This teaches the ESC the full range of your radio.
-
Battery Health: Check the internal resistance of your LiPo cells. If a cell is above ~10-20 mOhm, it cannot supply enough current under load, causing low RPM and heat. Also, verify the C-rating is sufficient for the EDF's amp draw.
-
Wiring & Connectors: Warm or hot connectors or wires indicate high resistance. Check for poor solder joints or worn connectors (e.g., a loose bullet connector on the motor-to-ESC wires).
Final Checks Before Flight
Once repaired, test the system on a stand. Check that:
-
The fan reaches full RPM smoothly.
-
There is no vibration that could loosen screws in flight.
-
All screws (spinner, motor mount, housing) are tight.
-
The motor direction is correct (air should be pushed backward). If reversed, swap any two motor wires connected to the ESC.
If you are unsure which specific part is failing, your model's user manual often includes a Troubleshooting Guide (e.g., for "motor does not turn" issues) that can help narrow down the electrical fault
Freewing ESC List,Freewing 30A ESC,60A ESC,80A ESC,100A ESC,120A ESC,130A ESC,150A ESC,180A ESC.20A ESC,150A ESC,180A ESC,200A ESC,Freewing Brushless ESC Motor
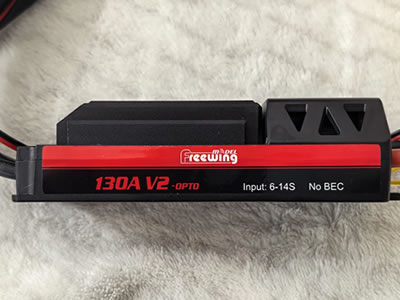
Freewing 130A V2 ESC with 10A UEBC
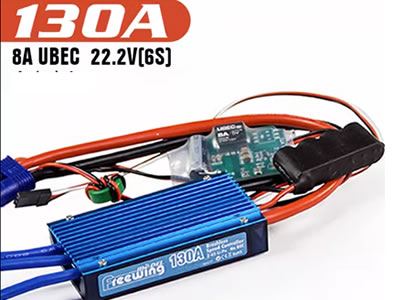
Freewing 130A ESC with EC5 connector
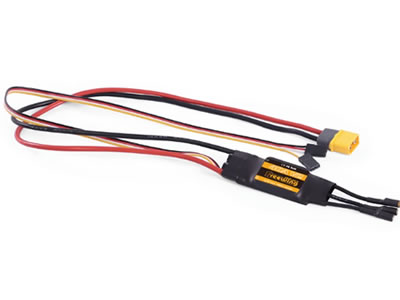
Freewing 100A ESC with EC5 connector
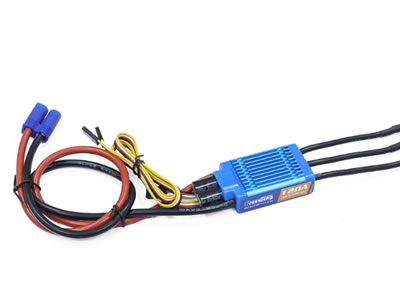
Freewing 120A ESC with EC5 connector
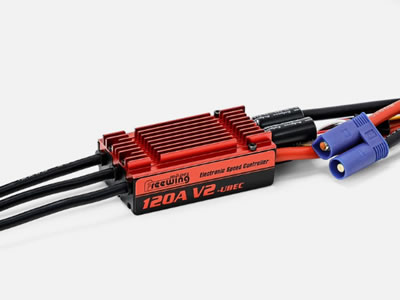
Freewing 120A V2 ESC with EC5 connector

Freewing 120A V3 ESC with EC5 connector
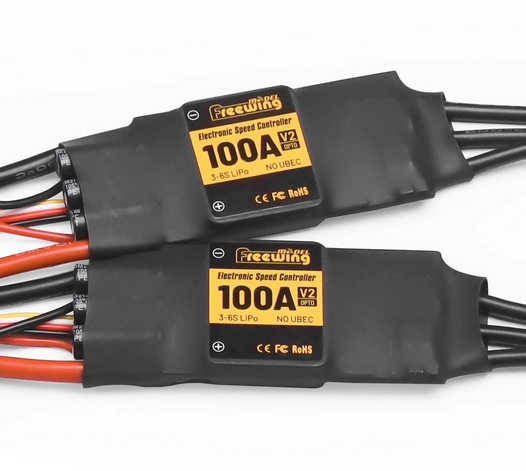
Freewing 100A V2 Dual ESC With 10A UBEC Reverse Brake Function
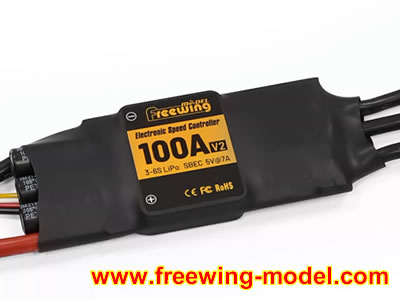
Freewing 100A V2 ESC with EC5 connector

Freewing Dual 80A ESC Brushless Speed Control

Freewing 80A V2 Brushless Speed Control
This Product is available in stock,we will ship the package box within 48 hours after the buyers pay money via paypal.
This Product is available in stock,we will ship the package box within 48 hours after the buyers pay money via paypal.

