
How to repair the broken freewing F-35C 110mm Jet step by step,freewing model official site
I've gathered the key facts — model specs, owner-reported failure points, spare parts, and foam-repair best practices. Here's the practical repair guide.
Freewing F-35C 110mm EDF Jet — Repair Guide
First, know what you're working with: the airframe is painted EPO foam with carbon-fiber reinforcement, powered by a 110mm 12-blade EDF (12S, 2× 6S packs), with CNC-machined shock-absorbing retractable landing gear + sequenced gear doors, digital metal-gear servos, a 130A HV ESC and the EG01 6-axis gyro. Because the foam is painted, never use solvent-based cleaners or CA-thinner aggressively on the surface — they'll melt the paint and foam.
1. Foam airframe damage (cracks, tears, crushed foam) — the most common repair
- Clean cracks/tears: pull the tear open slightly and fill with low-temp hot glue, Gorilla Glue (polyurethane), or Foam-Tac, press together and let set; for minor tears, box tape over the top works as a quick fix. Foam-Tac method: thin coat on both faces, press firmly, separate for 4–5 seconds, rejoin and hold — dry in 15–20 min, full cure 2–14 hrs.
- Crushed/missing foam: rebuild with scrap EPO or light spackle, then shape and sand; epoxy or PU glue fills voids better than CA.
- Structural areas (wing root, fuselage join, tail): add a carbon rod/tube splint across the break bonded with epoxy or PU glue — this is what stops the same spot from breaking again.
- Finish: repaint with water-based acrylic (matches EPO spray paint); avoid lacquer thinners.
2. Landing gear — the #1 damage area, especially on grass
- Gear mount ripped out of the foam (classic hard-landing failure): clean the foam pocket, key the plastic mount, then glue it back with epoxy or hot glue (fills the torn voids better than CA); reinforce the surrounding foam with a carbon flat if it cracked.
- Bent/broken nose-gear pin or strut: the steering pin is a known weak point on grass fields — replace with the spare pin/strut rather than trying to straighten. Note the nose gear has no trailing-link flex, so landings on rough grass need to be smooth.
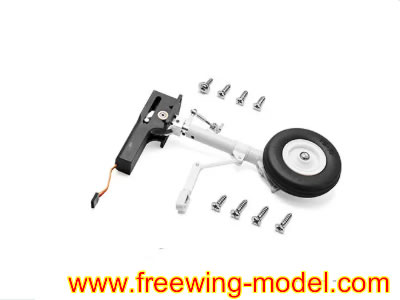
- Dead retract unit or jammed gear door: check the sequenced-door linkage first (it jams and stalls the retract motor); if the retract itself is dead, swap the complete strut-with-retract assembly — it's a plug-in unit, easier than rebuilding.
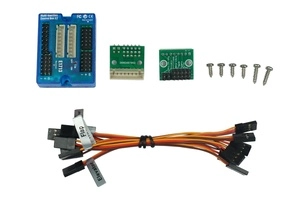
- Wiring: check the gear-door sequencing controller and plugs after any crash — a popped connector causes "gear won't come down."
3. EDF unit (vibration, rubbing, reduced thrust)
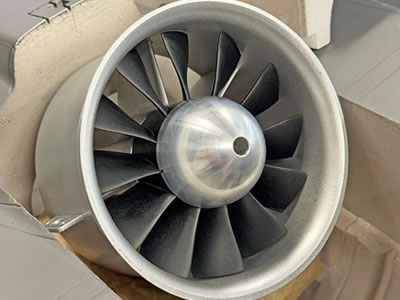
- Vibration at high throttle usually means a chipped blade or an out-of-balance fan after a strike. Remove the fan unit, inspect all 12 blades, and balance or replace as needed; reassemble with thread-locker on the collet/grub screws.
- Rough motor / grinding: check the motor bearings and the rotor-mount nut per the assembly diagram (rotor → spacer → motor clip → nut → spinner).
- After any fan work, bench-run the unit (unloaded or mounted) before reinstalling to confirm it's smooth — an unbalanced 110mm fan will shake the airframe apart in flight.
- Check the thrust-reversing ESC programming if the brake/reverse behavior changed after a crash.
4. Electronics, servos and known owner quirks
- Dead or stripped servo: digital metal-gear servos — replace with the same size/torque; freewing sells the specific servo spares. Always re-center and re-check throws after swap.
- ESC cutout/hesitation: resolder cold joints at the battery/ESC connectors (common after hard impacts), and verify the 10A UBEC is feeding the receiver cleanly.
- Owner-reported setup issues worth checking while you're repairing:
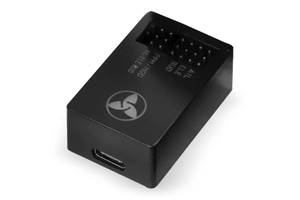
- The stock gyro gains are reportedly set too low from the factory — owners describe noticeably unstable roll on first flights; raise roll gains via the EG01 programmer.
- The recommended battery placement puts the CG ~15–20mm behind the factory mark — owners find the CG better with the two packs side by side rather than split fore/aft. Re-check CG after any nose/tail repair (a repaired nose adds weight forward).
- Some units have a poor fuselage join out of the box — worth reinforcing with carbon rod before it fatigues.
5. Spare parts (from Freewing — FJ50111 series)
表格
| Part | Number |
|---|---|
| Fuselage | FJ5011101 |
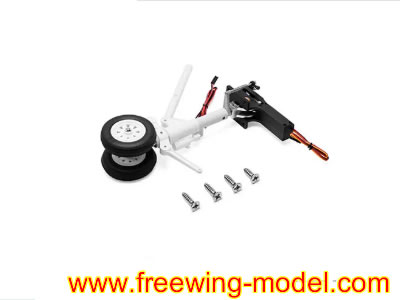
| Front landing set (strut + wheel + retract) | FJ50111081 |
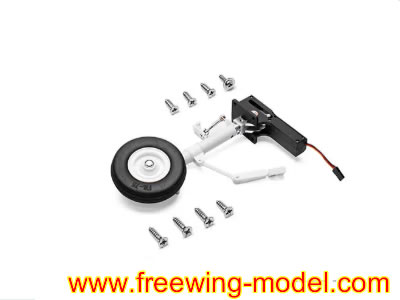
| Left / Right landing set | FJ50111087 / FJ501110812 |
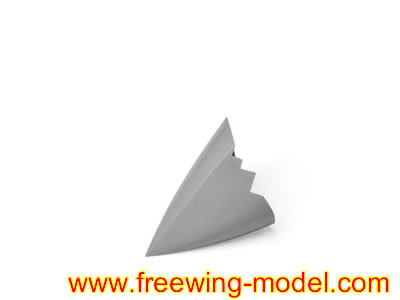
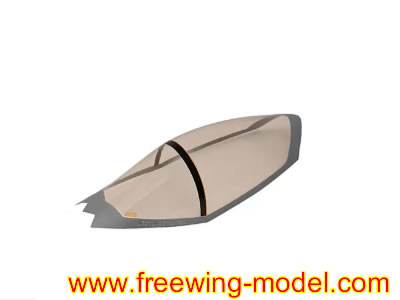
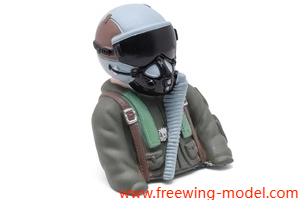
| Complete wing, tails, nose cone, cockpit, fan/motor, servos | FJ50111xx series on the Freewing spare-parts page |
6. Pre-flight verification after any repair
- Bench test: all control surfaces + gear cycle + throttle sweep, no vibration.
- CG re-check at the factory mark (adjust battery placement for the ~15–20mm tail-heavy quirk).
- Range check and gyro direction check.
- Taxi test at low power before full flight.
Here's a diagnostic flow for the whole process — pick your symptom and it routes you to the right repair path.
If you tell me what's actually broken (foam damage, gear failure, vibration, electronics), I can give you a step-by-step walkthrough for that specific repair with the exact parts and technique.
What's actually broken? Quick pick so I walk you through the right one:
- Foam damage — cracks, crushed foam, missing chunks (crash/landing damage)
- Landing gear — mount ripped out, bent strut/pin, gear won't come down, door jam
- EDF vibration/thrust loss — chipped blades, rough motor, shaking at throttle
- Electronics — dead servo, ESC cutout, gyro unstable/roll wobbly
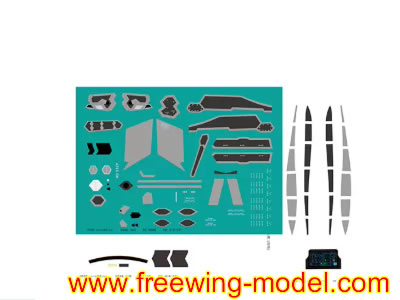
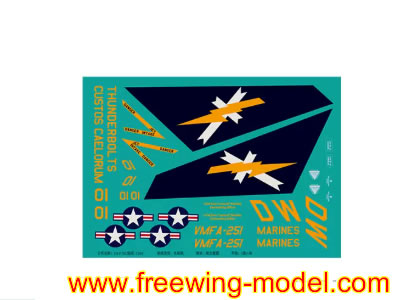
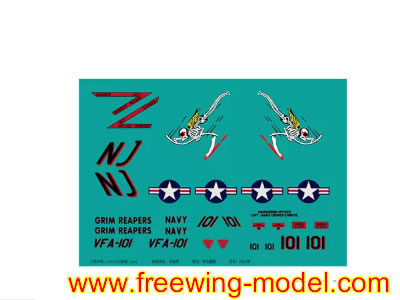
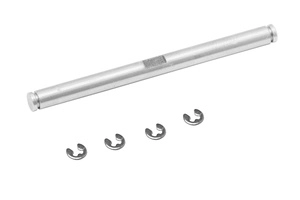
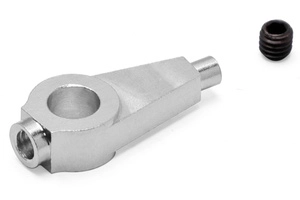
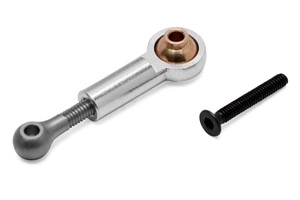
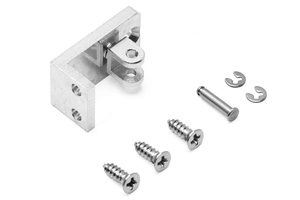
Spare parts For Freewing F-35C Lightning II 110mm EDF Jet Spare parts
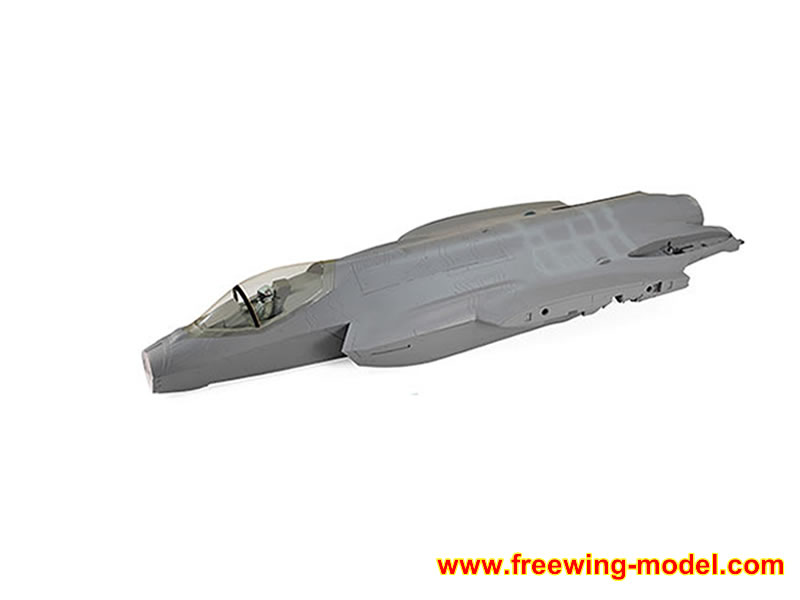
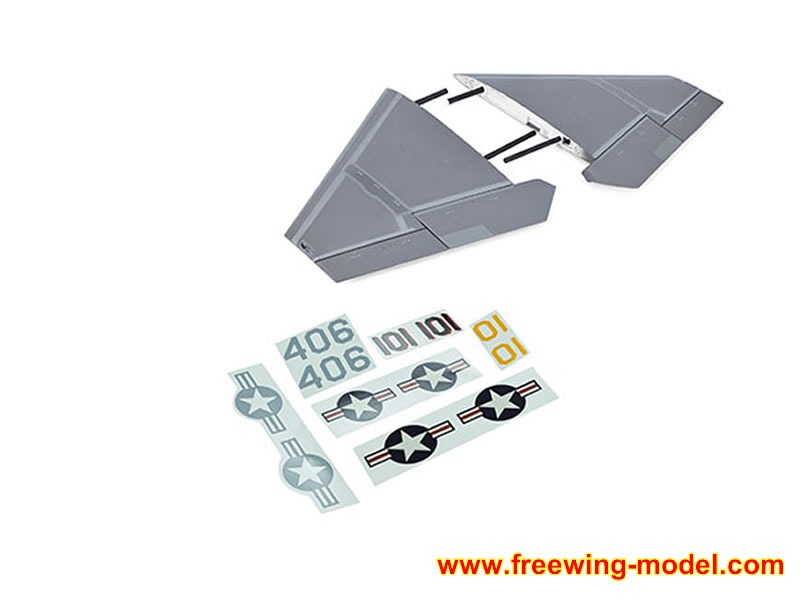
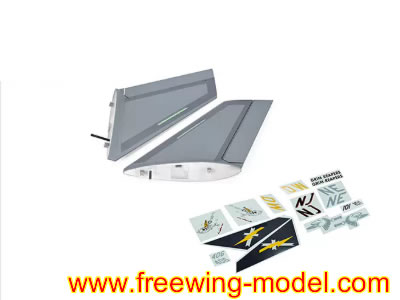
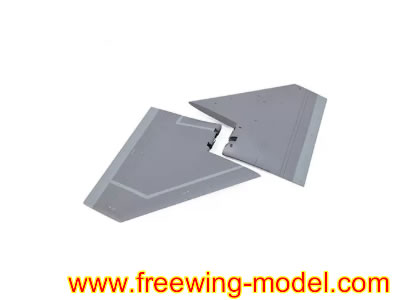
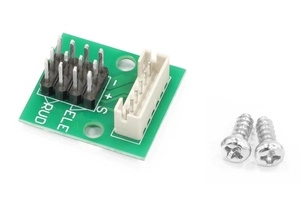
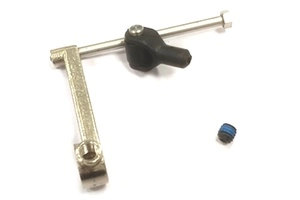
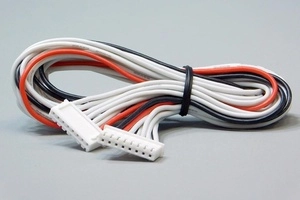
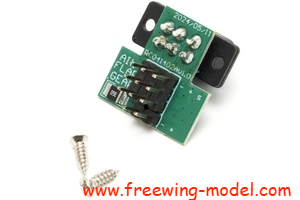
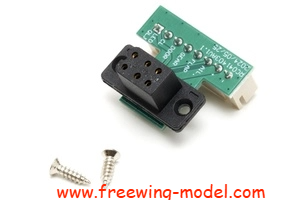
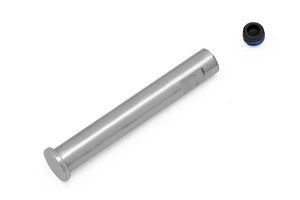
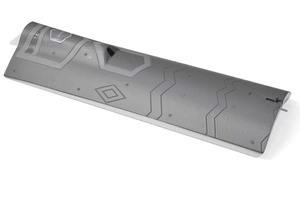
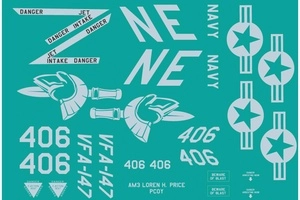
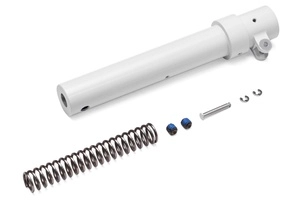
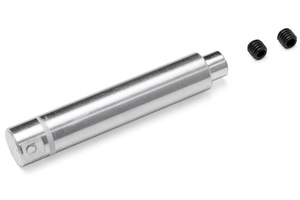
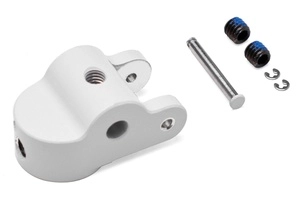
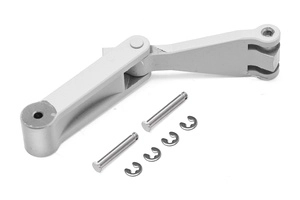
This Product is available in stock,we will ship the package box within 48 hours after the buyers pay money via paypal.
This Product is available in stock,we will ship the package box within 48 hours after the buyers pay money via paypal.

