
Home >>RC Airplane DIY Technology Article
How to assembly Freewing BAC Lightning 64mm EDF PNP Jet Step by step?
Step by Step Assembly Guide: How to assembly Freewing BAC Lightning 64mm EDF PNP Jet Step by step
Model No.: FJ11611P | PNP = Power system + servos pre-installed; you only assemble airframe parts, install receiver & radio setup
Important Pre-Assembly Notes
- Airframe material: EPO foam. Do NOT use CA glue, acetone or aggressive cleaners �� these dissolve foam. Use foam-safe glue only if repairs needed.
- Required equipment (NOT included):
- 4~5 channel transmitter + receiver (5ch recommended for reverse thrust function)
- 4S 14.8V LiPo battery: 1800�C2200mAh, ��35C, XT60 plug
- LiPo balance charger for 4S packs
- Always power on transmitter FIRST (throttle stick fully down), then connect aircraft battery.
- Official manual download: https://www.freewing-model.com/download/freewing-64mm-bac-lightning-jet-manual.pdf
Step 1: Unpack & Inventory All Parts
Check all components:
- Fuselage (EDF motor, 40A ESC, servos, fixed landing gear pre-fitted)
- Left / Right Main Wings
- Left / Right Vertical Stabilizers
- Full-flying Horizontal Stabilizers
- Control pushrods, clevises, retaining screws
- Canopy, battery hatch, foam tape/Velcro
- Instruction sheet
Step 2: Install Horizontal Stabilizers (All-Moving Tail)
- Flip fuselage upside down. Locate horizontal tail mounting slots at rear fuselage.
- Route elevator pushrod into fuselage tail channel.
- Slide left & right horizontal stabilizer pivot shafts into fuselage mount.
- Attach pushrod clevis to elevator horn. Center the stabilizer surface perfectly neutral.
- Secure with supplied small locking screws (do not over-tighten; easy to strip foam/plastic).
- Repeat for opposite horizontal stabilizer.
Step 3: Mount Vertical Stabilizers
- Carefully route rudder servo extension wire out of fuselage tail opening.
- Plug servo wire connector, push connector into cable routing channel.
- Slide vertical fin into fuselage tail saddle.
- Connect rudder pushrod clevis to rudder control horn, set rudder to neutral position.
- Secure vertical stabilizer using provided screws. Fit both left & right fins.
Step 4: Install Main Wings
- Insert the carbon fiber wing spar through fuselage wing mount tube.
- Plug in aileron servo wiring extension between wing and fuselage harness. Secure connector inside wing root cavity.
- Slide left wing onto carbon spar, align wing root flush with fuselage.
- Attach aileron pushrod clevis onto aileron horn; set ailerons neutral.
- Lock wing root using fixing screws on bottom fuselage. Complete both wings.
Step 5: Final Airframe Check
- Double-check all pushrods: no binding, all control surfaces move freely full travel.
- Confirm all wiring is tucked away �� avoid pinching wires when fitting wings/tail.
- Fit the clear canopy.
Step 6: Install Receiver & Wiring Setup
- Open battery hatch; place receiver in forward fuselage radio compartment. Secure with double-sided foam tape.
- Plug all servo leads and ESC throttle lead into receiver channels:
- CH1: Aileron
- CH2: Elevator
- CH3: Throttle (EDF fan)
- CH4: Rudder
- CH5: Reverse Thrust (assign channel if your radio supports reverse)
- Route receiver antenna outside foam for best signal; keep antenna clear of ESC power wires.
Step 7: Radio Binding & Pre-Flight Electronic Test
- Turn ON transmitter, throttle stick all the way down.
- Bind receiver to your radio following your transmitter manual.
- Connect 4S LiPo battery (XT60). Wait for ESC beep confirmation sequence.
- Verify control directions:
- Right stick right �� right aileron up
- Pull elevator back �� elevator trailing edge up
- Right rudder command �� nose turns right
Reverse servo direction inside radio menu if controls work backwards.
Step 8: EDF Fan Spin Test (SAFETY FIRST!)
Keep hands, hair and debris far away from intake/exhaust!
- Slowly advance throttle to low setting, confirm fan spins forward (normal thrust).
- If fan rotates backwards: swap any two motor wires between motor and ESC.
- Test reverse thrust function (if equipped): activate assigned switch, fan reverses rotation.
Step 9: Center of Gravity (CG) Setup �� CRUCIAL FOR FLIGHT
Official CG position: Mark located on fuselage near wing leading edge
- Balance aircraft without battery first, then insert LiPo pack.
- Slide battery forward/back inside battery tray until jet balances level.
- Secure battery using supplied Velcro straps inside battery compartment.
Battery bay dimensions: L200 �� W54 �� H38 mm
Step 10: Control Travel (Dual Rates Recommended)
Recommended start values for maiden flight:
- Aileron: 18�C22mm total throw
- Elevator: 20�C24mm total throw
- Rudder: 16�C20mm total throw Enable Expo (25�C30%) for smoother low-speed handling.
Critical Safety Warnings
? Always hand-launch into wind; this model is optimized for toss launch
? Remove loose objects near EDF inlet before every flight check
? Disconnect LiPo immediately after landing; never leave battery connected unattended
? Do NOT exceed 4S voltage; 64mm EDF system only rated for 4S 14.8V
? Do not fly in rain, moisture damages ESC and servos
Install Servos:
Short clear answer:
NO, you do NOT need to mount or install servos yourself.
This is the PNP version (Freewing BAC Lightning 64mm EDF)
? All servos are already factory pre-installed inside fuselage, wings and tail assemblies.
? Servos are pre-connected to internal wiring harnesses.
? Pushrods are included for you to clip onto control horns only.
What servo work YOU actually do:
- Plug the pre-made servo extension connectors (wing/tail servos plug into main fuselage harness when fitting wings and stabilisers)
- Attach the clevis ends of pushrods to control horns
- Centre control surfaces and adjust pushrod length for neutral trim
Things you don��t have to do:
- Screw servos into foam
- Run servo wires through the airframe
- Mount servo arms
Only the Kit / KIT version comes with loose servos you install from scratch. PNP = all power & servo hardware pre-fitted at factory.
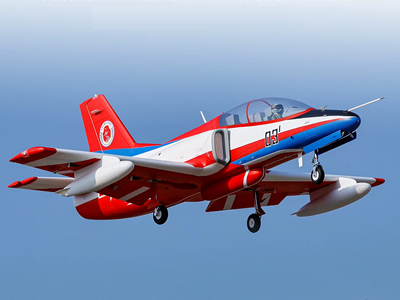
Freewing K-8 Karakorum 80mm EDF PNP Jet
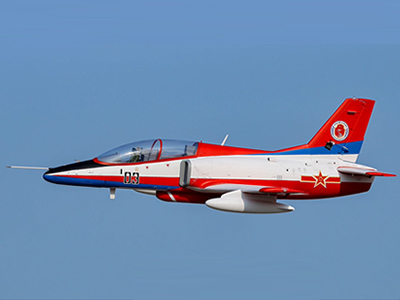
Freewing K-8 Karakorum 70mm EDF PNP Jet
3.Freewing F-35 110mm EDF jet
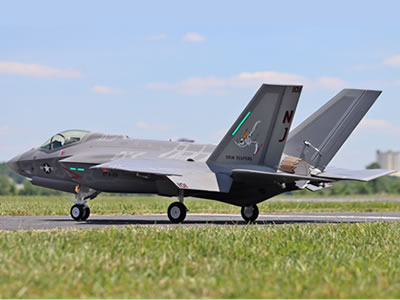
Freewing F-35C 110mm EDF Lightning II Super Scale Jet with Gyro RC Airplane

